How to set up and install Dlink 1650 extender in your home network?
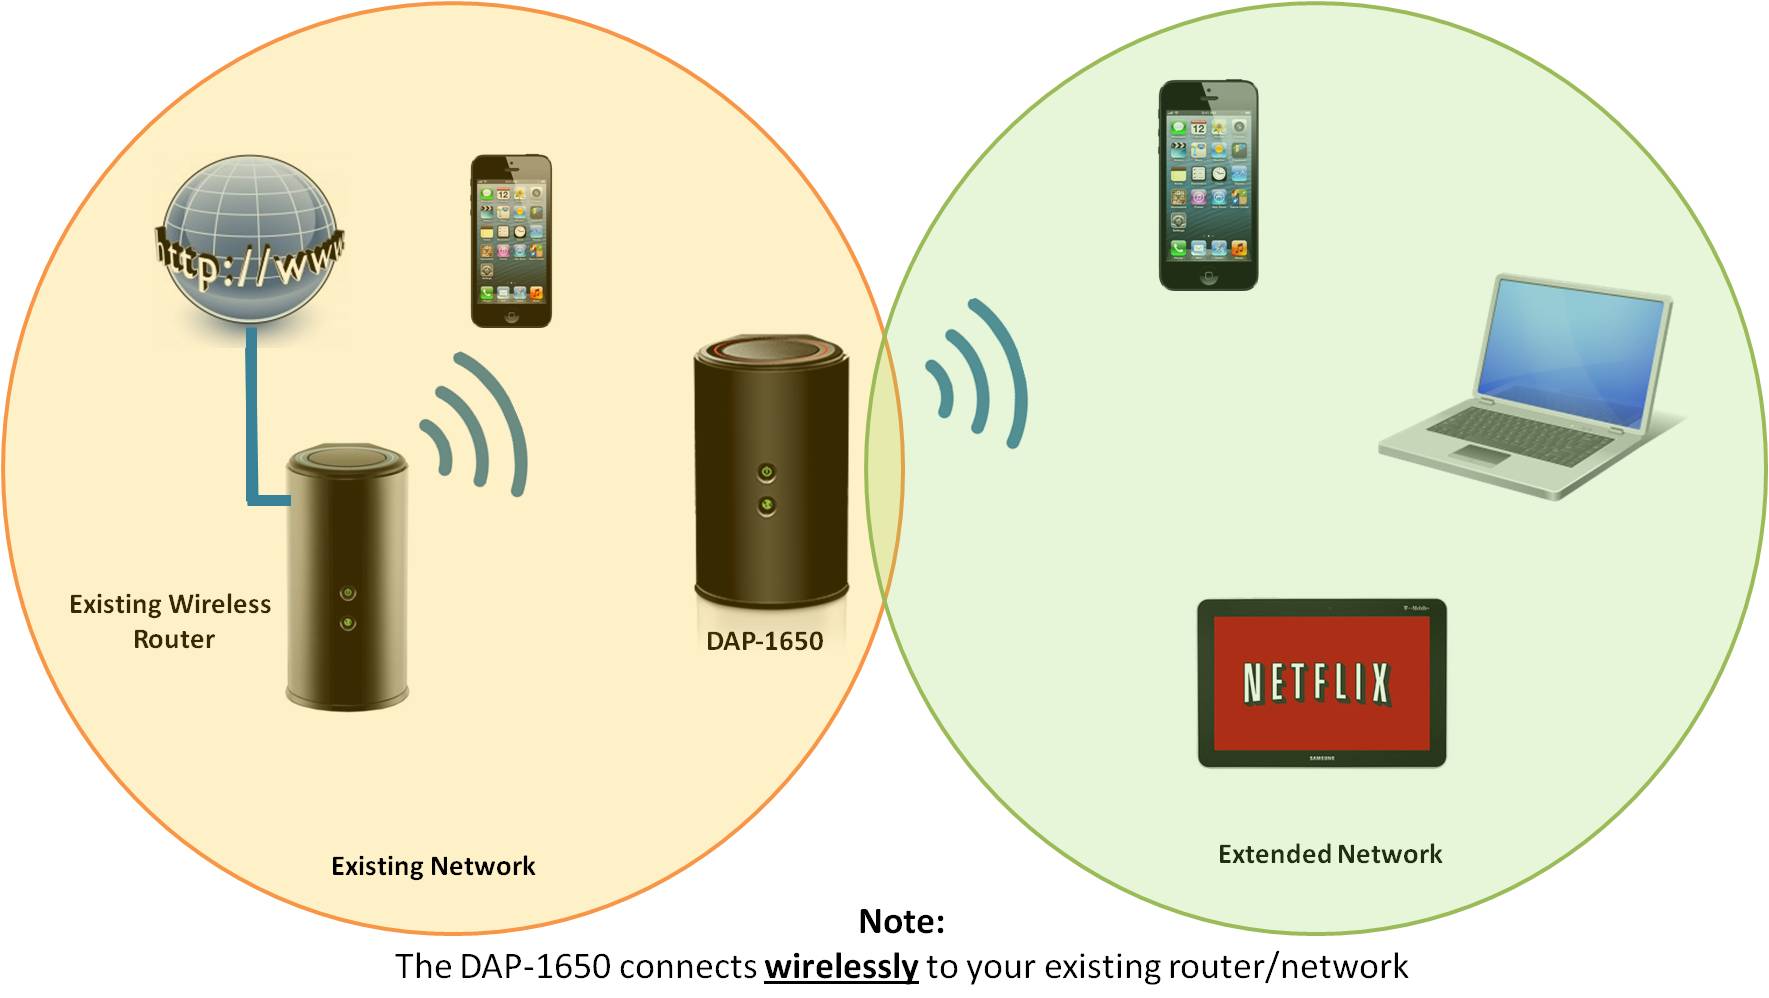
The setup process includes the installation and configuration process. In the installation method, a user has to connect his range extender with the main router, the network of which a user wants to extend. In the configuration process, a user performs the adjustments in the various settings of an extender through the dlinkap.local window to maximize the performance its performance.
Steps to setup and install Dlink 1650 range extender in a local network
- Turn on your Dlink 1650 range extender by directly connecting it to the power outlet near your main router.
- At first, the red light will appear on the Power LED of your range extender, wait for a few seconds to allow the Power LED to turn amber that shows your extender has successfully turned on.
- You can relocate the extender after the setup process so if you haven’t placed it where you want to, there is not an issue with that.
- When your Dlink 1650 range extender gets successfully turned on, go to your router and press the WPS button located on the back panel of it.
- If you are having a dual-band router, make sure you press the WPS button of that frequency band the network of which you want to the extender. You can check the wireless settings of the frequency band to see whether the WPS is enabled or not.
- Now within one minute, you need to press the WPS button of your range extender. make sure you press it within 60 seconds, else the connection won’t get established.
- When the WPS connection gets established between your router and the extender all signal LEDs on the front panel of your Dlink 1650 range extender turn green.
- When the connection gets established, relocate your range extender to a dead Wi-fi zone where you want to active the Wi-fi connection.
Note: Once your installation process gets completed you can configure your range extender using the web browser. You need to interact with the dlinkap.local window to configure your range extender in an absolute manner.
Steps to configure the dlinkap.local 1650 range extender
- Once a user is connected to the range extender, a user is directly connected to the main configuration page. If the setup page doesn’t automatically appear on the screen do follow the next step.
- Go to your computer connected to the local network, open a browser, and type dlinkap.local on the web address of your browser.
- Choose a language for the web interface of your Dlink 1650 range extender. English is set as the default language on the title bar.
- Click on the Next button of the setup page to start the configuration process.
- Choose the “extend an existing wireless network” option from the next window.
- Now go ahead and select your home wi-fi network. You will be prompted to put the Wi-fi password that should be between 8 and 64 characters. After typing the Wi-fi password, click on the Next button
- In the next window, you will be having an option to change the wireless name and Wi-fi password of the extended network. If you want to keep the same password for the main and extended network, you can do so by selecting the “use the same password both the networks” option.
- After personalizing the wireless settings of your extended network click on the Next button.
- Now you will be given an option to change the admin password of the dlinkap.local login window. By default the login password is set as blank, if you want to change the login password you can type the desired password on the Admin Password field then click on the Next button.
- You can review your settings from the summary page then click on the Next button.
- Your Dlink 1650 range extender will reboot to apply the settings you configured in the previous steps.
Note: Experts advise assigning a different Wi-fi name to both the frequency bands of the extended network in order to recognize which Wi-fi band you are currently connected to.