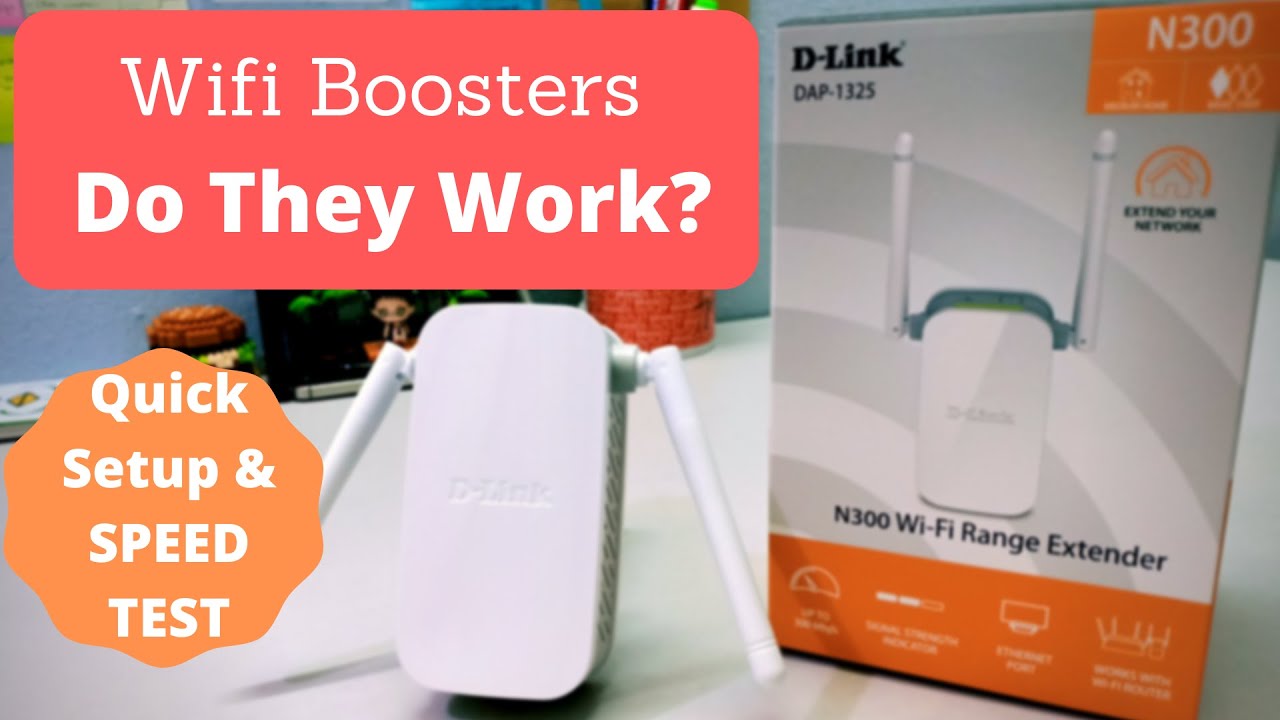
D’link DAP1325 Setup
d’link dap 1325 setup : Before the setup process of your Dlink DAP 1325 range extender, make sure you fetch the Wi-fi configuration card that comes along with your device. With the help of the configuration card, a user can fetch the wireless credentials that will allow you to connect to the extended network during the setup process. In case, a user doesn’t get the configuration card, he can also get those details from the back of the range extender on its product label.
Steps to setup Dlink DAP 1325 range extender in a home network
- Power on your range extender by connecting it directly to an available power outlet near your main router.
- At first, the power LED will light red and after a couple of seconds, it will turn amber showing that your extender has successfully turned on.
- When your extender device gets ready, move on to your computer and open the Wi-fi list of the available network near your computer.
- Connect to the signals of the extender using the wireless credentials that were given on the Wi-fi configuration card. There will be two default Network names on your network, one will be of 2.4 GHz and another one will be of 5GHz network.
- Select any one of the frequency bands of the network, type down the default password, and click on the Connect button.
- Once you are connected to your Dlink DAP 1325 range extender, you will be automatically redirected to the setup page of the range extender.
- In case if you are not automatically redirected to the setup wizard of your extender, type dlinkap.local on the web address of the browser and hit the enter button. You can also type the LAN IP address as the URL of your browser.
- The LAN IP address of your Dlink extender is 192.168.0.50
Note: Once you are connected to the setup page of your Dlink DAP 1325 range extender, you need to configure it through the dlinkap.local interface. A user can either manually configure the range extender or automatically do it through the Automatic Internet setup method.
Configure The Dlink DAP 1325 range extender – d’link dap 1325 setup
- From the main configuration page, choose the “extend an existing wireless network” option to manually extend the existing wireless network.
- The extender will scan for available wireless networks near it, When the available Wi-fi list appears on your screen select your router’s network.
- Type down the Wi-fi password of your home network. Make sure the password is correct then click on the Next button.
- In the next window, you can personalize the Wi-fi settings of your extended network. You can change the default Network name and Wi-fi password for both the Wi-fi bands of your extended network.
- Users are recommended to keep the different network names to both the Wi-fi bands of the extended network to identify the network with which your extender has connected.
- Note: The Wi-fi password for both the Wi-fi bands of your extended network will be the same.
- Once you are done, click on the Next button to move on to the further step.
- Now, you can assign the login password of the Dlink extender login window. Make sure you are fulfilling all the requirements required to assign an admin password to the login window.
- You can also keep the default password as the admin password of your Dlink extender login window.
- Once you are done, click on the Next button.
- From the next window, you can summarize the network and Wi-fi settings you configured in your previous steps. Review all the settings you made from the configuration page of the dlinkap.local window, click on the finish button.
- Your extender will not reboot to apply the settings you made. It will take a few minutes, click ok and close the browser.
- Go ahead and scan for the available Wi-fi networks and connect to the signals of your extended router’s network.
- Once you are connected to the extended network, the setup process of your Dlink DAP 1325 extender is complete.
Note: Users are recommended to note down the significant credentials from the configuration page of the dlinkap.local window that are to be utilized to access the dlinkap.local interface of your Dlink DAP 1325 extender. You can type down the Network key and admin password of your extender to access your extender and Wi-fi of your extended network.
How to change the Wi-fi password on my D-Link DAP 1325 range extender?
The Wi-fi password of a range extender is utilized to access the extended network of a router. Users having the network key of your extender can access your extended network. You can find the default Wi-fi password on the back of your range extender on its product label.
Steps to change the Wi-fi password on my D-Link DAP 1325 range extender
- Open a browser on the computer connected to your extended network.
- Type dlinkap.local on the address bar of the browser and press the enter button. You can also type the LAN IP address as the URL of your browser, in case you encounter any error while reaching the default dlinkap.local window.
- Press enter and you will be redirected to the Dlink extender login window.
- Type down the credentials on their respective login fields. Type “admin” on the username field as the default credentials. Type the password you assigned during the setup process of your Dlink extender.
- Click on the login button and you will be redirected to the dlinkap.local web menu page.
- Go to the Advanced tab, select the Settings tab then click on the Extender option.
- The Network settings page appears on your screen. Scroll down to the settings page, go to the Wi-fi option. Remove the existing Network name and type down a new SSID name to your extended network.
- When you are done configuring the wireless settings of your Wi-fi network, click on the OK tab and your settings will get saved.
Note: Make sure you assign a unique network name to your range extender so that you can conveniently identify the SSID name of your extended network during the connection process.
Dlink 1325 range extender Login Password Change
The login password can be changed either through the dlinkap.local window or directly through the Dlink Wi-fi app.
Steps to change the login password of the Dlink 1325 range extender through the dlinkap.local window
- Launch a browser on your computer connected to the local network.
- Now, type dlinkap.local on the web address of your browser. In case you encounter an error you can also type the LAN IP address of your Dlink 1325 range extender as the URL of your browser.
- Hit the enter button and the default Dlink extender login screen appears on the screen.
- Type “admin” on the username field and mention the password you set during the Dlink range extender setup process. If you haven’t change the default login password, keep the password field blank as the default login password. Both the credentials are case-sensitive.
- After mentioning credentials on their respective fields, click on the login button and the dlinkap.local screen appears on the screen.
- From the main setup page, click on the Tools tab then click on the Admin tab located on the left of the tool option.
- Scroll down to the Administrative settings page and type the desired password you want to set for the Dlink extender login window in the Admin password option.
- Retype the password in the Confirm Password field.
- Click on the Save settings tab to save the settings you configured.
Note: Make sure you are fulfilling all the criteria while assigning a new password for the Dlink extender login window. Any fault while assigning a password may deny you from allowing you to set a new login password for the Dlink 1325 range extender.