Steps to perform the Dlink Extender Setup process through the WPS method
- Find an Electric Outlet near the router to which you are connecting your Dlink Extender. Connect your dlinkap.local Extender device to that outlet and wait until the Power LED located on the front of your device turns amber.
- Go to your Router and locate the WPS button on it and press it for at least 3 seconds as soon as you find it. The Wi-Fi LED starts to flat, in case the LED doesn’t flash it may be the reason that the WPS feature in your router is turned off.
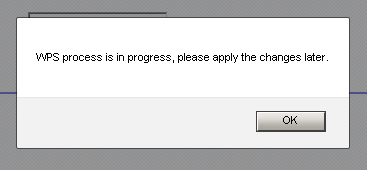
- Once the WPS feature gets turned on in your router, you have to press the WPS button of your range extender within one minute to allow your extender to get connect to the router.
- The LED on your Range Extender turns green once the connection between your networking devices gets successful. Soon the LED stops flashing and it will turn solid green. The connection process may take up to 3 to 4 minutes.
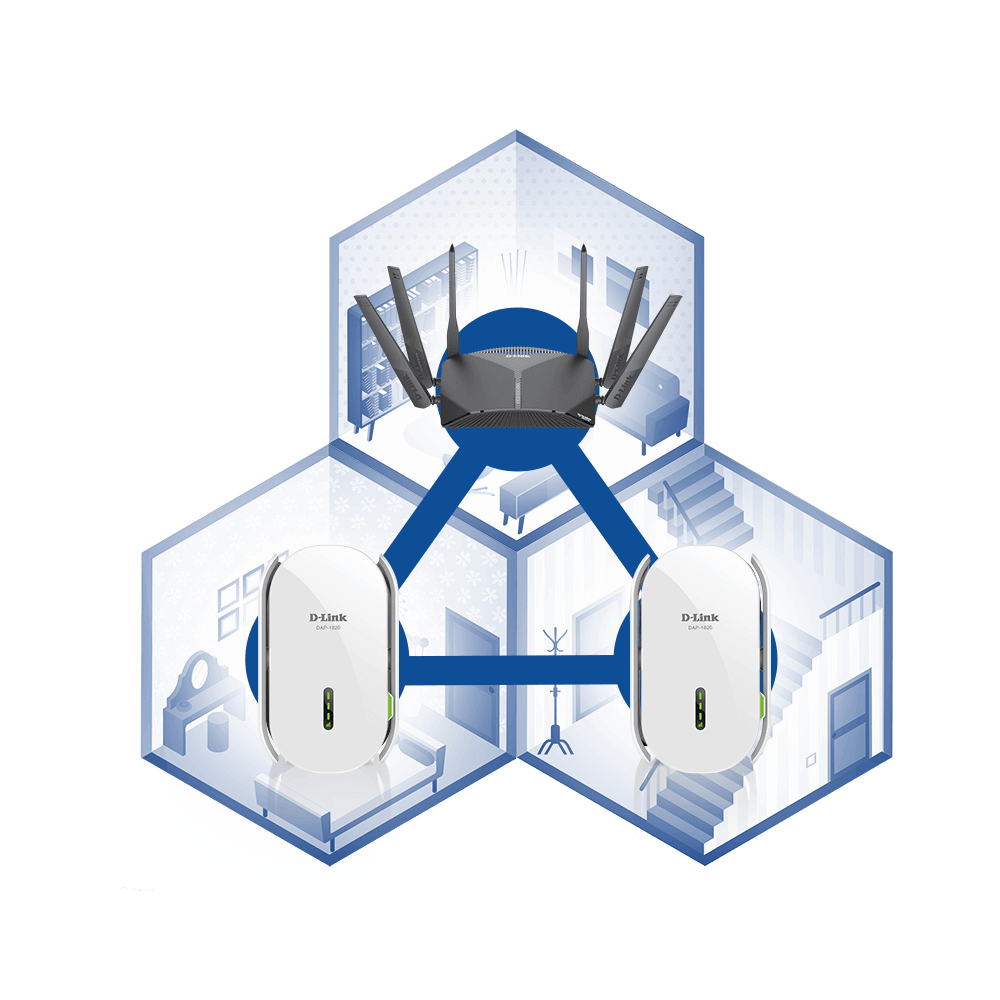
- Once the connection gets established, you can unplug the Range Extender and move it to the location where it will receive the maximum Wireless Coverage.
- If after moving the Range extender your connection gets weaken then move your extender somewhere else from where the LED turns solid green.
- At last scan for the available network from the Wi-Fi list on your computer or the wireless Device. As soon as you find the default Network Name on it click on it and type down the Wi-Fi password to get wirelessly connected to the Dlink Extender.
How to update the firmware of the Dlink AC1200 Wi-Fi extender?
The firmware of the Dlink Extender is published to allow the users to configure their device with upgraded features and new security mechanisms. Dlink provides an excellent service to allow the users to update the firmware of their device automatically through the web interface of dlinkap.local window. The only condition is that a user must have known about the new firmware of his Dlink Extender before visiting the Dlink Extender login window.
Firmware Update For Dlink AC1200 Wi-Fi extender
Visit your browser on the computer connected to the available Wi-Fi network.
- Go to the address bar of your browser and type www.dlinkap.local as the URL to get to the default Dlink Extender login window. You also can type the LAN IP address of your extender as the URL. The IP address of the Dlink extender is 192.168.249.1
- Hit the enter button and the default gateway of the Dlink Extender appears on the screen.
- Mention “admin” as the default username and type the default password on the password field. if you haven’t changed the password after the Dlink Extender setup process, type “admin” as the default password and click on the login button.
- As soon as you hit the login button, the home screen of dlinkap.local appears on the screen.
- Go to the Management tab then select the Upgrade tab. Click on the save option to maintain the changes you want to create on this page.
- Now, go to the Firmware Information tab and the page will display the current firmware installed version as well as the release date of the firmware that is currently installed in your Dlink Extender.
- To check whether the new firmware is available for your Extender or not, you need to click on the “Check for new Firmware” tab.
- If there is firmware available for your device, you can directly perform the installation process from the computer. Click on the upgrade tab then hit the Yes button for confirmation.
- The update process will take around a few minutes depending upon the amount of Wi-Fi signals your device is receiving.
Note: Users are advised not to interrupt the update process by performing such activities on your computer as hopping on to the next window of your desktop, click on the hyperlinks of several websites, opening the new tab on your browser, closing your current browser, and keeping your computer in a sleep mode.
How to change the wireless Name of the Dlink AC 1200 Extender through the web interface of dlinkap.local window?
Wireless Network Name of the Dlink extender is the name given to your device to allow the nearby users to connect to the main network. The more unique your device name will be, the easier it will be for the users to connect to the network.
Only the main user has the authority to change the Network name through the Admin password of the Dlink Extender login page to none.
Steps to change the Wireless Network Name of your Dlink Extender
- Launch a browser through the home screen of your desktop.
- Type www.dlinkap.local on the web address of the browser. The user can also type the LAN IP address of the device as the URL of the browser.
- Hit the enter Dlink Extender login page that appears on the screen.
- Mention “admin” on the username as the default username and type your assigned password on the Extender password of the login window of your dlinkap.local. In case, the user has not set up any password yet then he can leave the password field empty as a default credential.
- Click on the OK button and the home screen of dlinkap.local appears on the screen.
- Move your cursor to the settings tab and click on it. Then find the Wireless tab and click on it.
- Wireless settings page of your extender device appears on the screen.
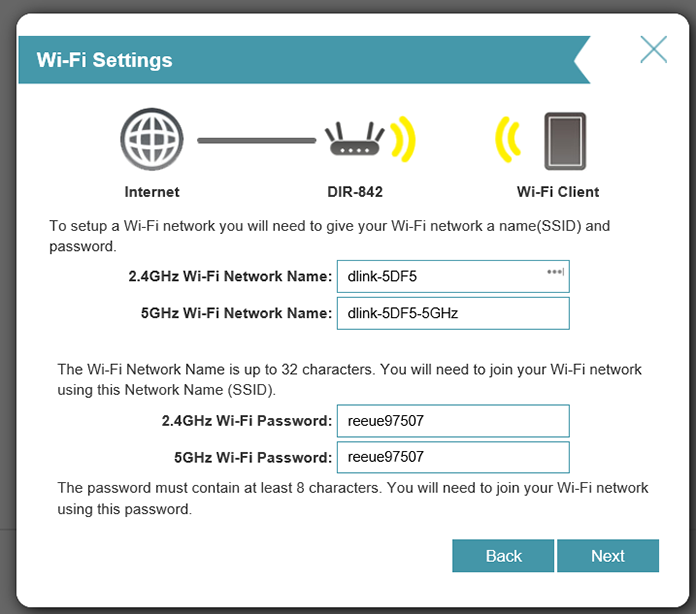
- Take your cursor to the SSID field, type the new network name you want to assign your extender. Make sure to make it unique as the same network name within a particular range can confuse the users while finding out your device.
- Click on the Save Settings tab to save all the configurations you made.
How to create a backup of the configuration settings of your Dlink AC2000 Wi-Fi extender?
The backup of the configuration settings is created mostly before a user performs the reset or an update process. By creating a backup of the configuration settings into the computer a user can easily restore all the former settings into a device through the web interface of dlinkap.local window. While creating a backup of the settings a user must choose the backup location wisely so that during the restoration process they could easily find the file that has to be backed up.
Steps to create the back up of the configuration settings of the Dlink AC2000 Wi-Fi router
- Launch a browser on your desktop connected to the local Wi-Fi network.
- Take your cursor to the Address bar and type www.dlinkap.local or the IP address of the extender to get to the Dlink Extender login page. The IP address of the Dlink AX1200 Wi-Fi extender is 192.168.1.249.
- Hit the Enter button and the default Dlink Extender login page appears on the screen.
- Type the username on the username credential, if you haven’t changed the default username type “admin” as the default username. Type the login password that you mentioned earlier to get to the default gateway of dlinkap.local tab.
- Click on the login button and the dlinkap.local main window appears on the screen.
- Take your cursor to the Management tab located at the top right corner of your window then click on the System tab residing on the drop-down list.
- Now, to save the present configuration settings click on the “Save configuration file” button. If your browser asks you to select the desired location then select the location then click on the Save tab.
- If the browser doesn’t ask the location of the file, then the file will get automatically downloaded in the “Downloads” folder of the desktop.
- To restore the file back to the desktop, click on the Select file option. Locate the name of the file the name of your file will get displayed. Click on the Restore button and then click on the OK button to begin loading the configuration of the saved file.
change the admin password of my Dlink AC2000 Wi-fi extender via dlinkap.local?
Admin password of the login window of Dlink AC200 Wi-Fi extender is the login credential used to get to the web interface of dlinkap.local. Users can change this credential after the Dlink Extender setup process but during the setup process, a user has to apply a default credential. Most of the users frequently change the login password to prevent an unauthorized entry of anonymous users from accessing the Dlink Extender login window.
Steps to change the admin password of the Dlink AC2000 Wi-Fi extender
- Launch a browser on your Wi-Fi connected desktop or mobile device in which you are going to operate the Internet through your router.
- Now type www.dlinkap.local on the address bar of the browser and hit the enter button to get to the default Dlink Extender login window.
- Type the username as “admin” on the username field and mention the admin password that you mentioned during the Dlink Extender setup process and if you haven’t change the login password after the setup process then clicks on the login button.
- As soon as you click on the login button, the main window of the dlinkap.local appears on the screen.
- Take your cursor to the Management tab located at the top-right corner of your screen. Click on the Management tab then go to the Admin tab from the drop-down list.
- Go to the admin password field and type down a new passphrase to change the login password of the Dlink Extender login window. You also can enable the CAPTCHA by toggling the slider to the right side to prevent the anonymous entry of unauthorized users.
- Click on the Save button to save all the configurations you made.
Why re.rockspace.local is not working?
Note: You also can note down the login password somewhere from where you could easily copy the password to the Dlink Extender login window.